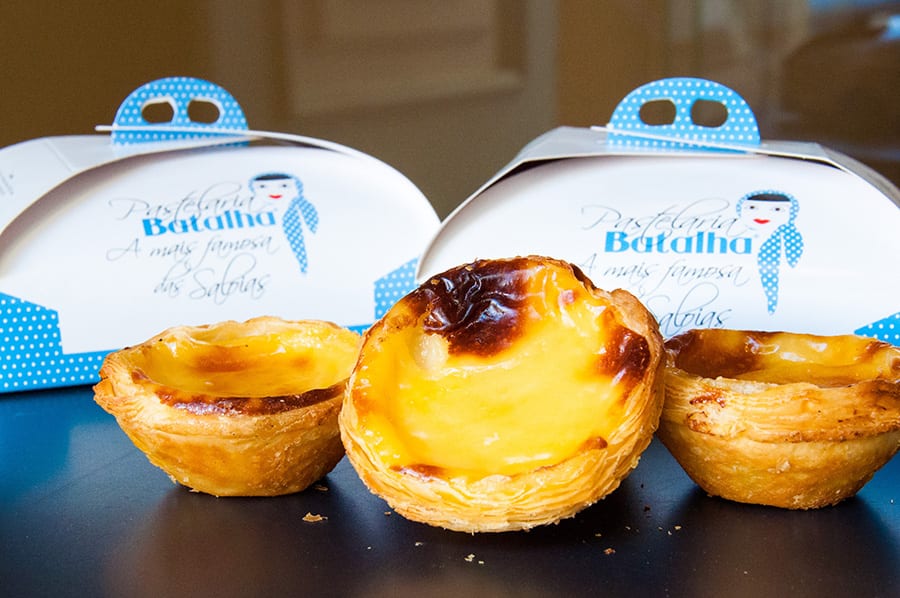
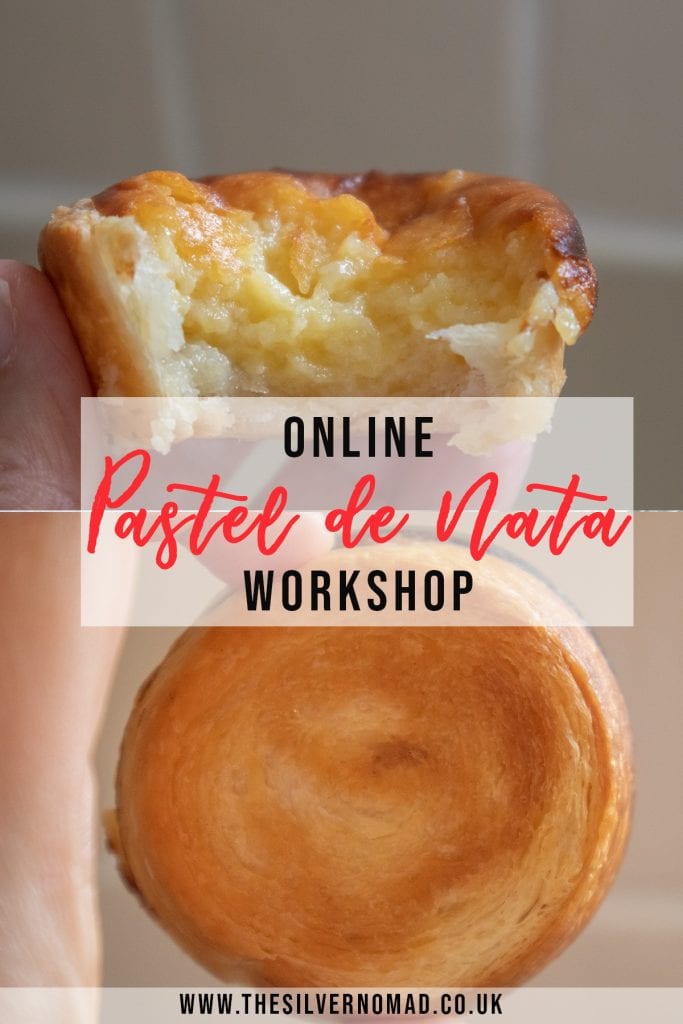
When I lived in Portugal, one of my favourite treats was to sit down with a galão – latte in today’s coffee culture – and a delicious pastel de nata. If you have not experienced one of these amazing creamy tarts, you are missing a treat!
You bite into the crispy pastry through to the creamy custard filling with a hint of cinnamon, mmm, deliciosa! I have always wanted to make my own but never quite got round to it. During lockdown, I was delighted to find an online Pastel de Nata workshop run by João from Pastelaria Batalha in Lisbon.
*This site uses affiliate links and I may earn a small commission when you use my links and make a purchase without incurring an additional fee yourself.
Thank you for supporting this website. See my disclaimer page for more details.
I must admit I wasn’t quite sure how an online cooking class would work, especially as João is Portuguese and my Portuguese is rusty at best! I needn’t have worried, João’s English was excellent.
Disclosure: This post is done in collaboration with Pastelaria Batalha, however, all views, opinions and photos are my own and remain the copyright of The Silver Nomad.
The Pastel de Nata Workshop Online Experience
The ingredient list was sent a couple of days in advance. I was prepared with all my ingredients in bowls ready for my class. However, as I was not in my own kitchen, I decided to concentrate on the workshop and try baking later.
I joined 2 others on a Zoom call for the workshop, a chef in the UK and a lady who was living in the Algarve. Only the lady in the Algarve was baking.
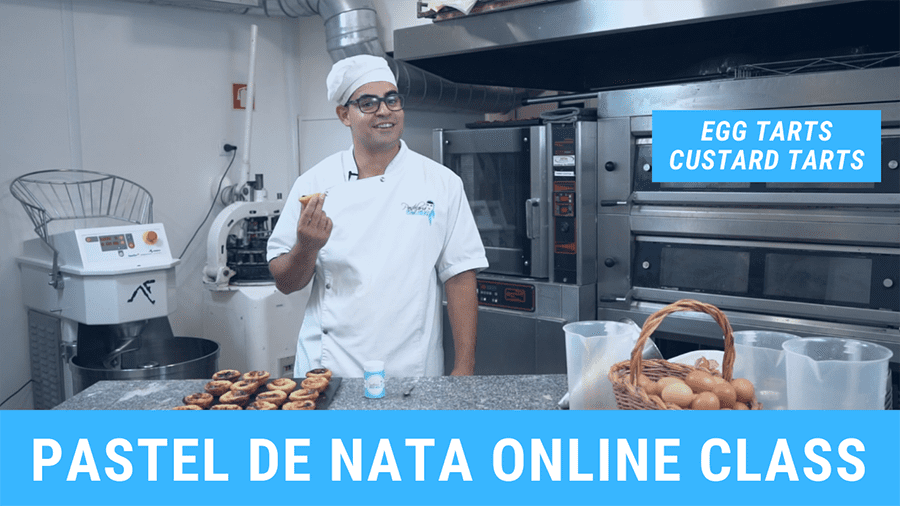
After introductions were made, João gave us some background to Pastelaria Batalha, its three Lisbon pastry shop, 13 awards and the thirty years since it first opened its doors.
I know sometimes online classes and meetings can be a bit disjointed, but the workshop went very smoothly.
Throughout the online Pastel de Nata workshop, João demonstrated every step and also checked that we understood everything and the progress being made.
The workshop lasted about an hour and forty-five minutes and in that time the pastel de nata were made from start to finish.
I found the whole experience very relaxing and enjoyable. Would I do it again? Yes, definitely and I also intend taking a class in Lisbon when the bakery is open after lockdown.
The Steps to making Pastel de Nata
I will take you through the steps for making Pastel de Nata, for the full recipe join one of João’s classes either online or when they reopen at the bakery.
Making the Puff Pastry
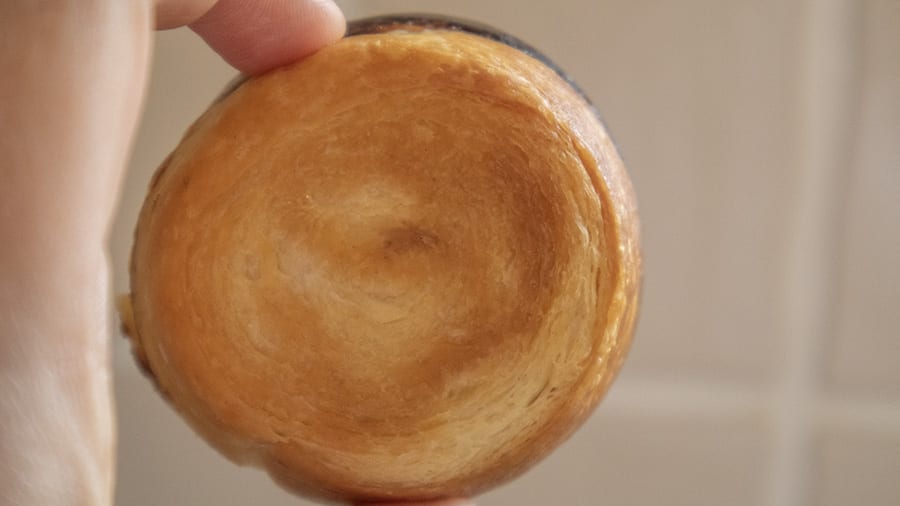
Puff pastry can be laborious. Rolling it out, adding butter to one third, fold, repeat, chilling, rolling and adding more butter… but João’s method is so much easier. You can if you wish use shop-bought puff pastry, but do try this method.
Add salt to the plain (all-purpose) flour, make a well in the centre, slowly add room temperature water and start kneading. Knead for around 10-12 minutes until it is all combined and has an elasticity to it.
Sprinkle a little flour on your clean surface and use a rolling pin to stretch the dough into a rectangular sheet about 1cm thick. If you don’t have a rolling pin, use a clean smooth-sided glass or bottle (remove all labels).
Once it is rolled out, place the margarine in the middle of the rolled out dough. João recommends using margarine* specifically for pastry making, you may have to buy it from a pastry shop, but you can use unsalted butter instead.
Fold the left and right sides of the dough over the margarine, then the top and bottom. Now comes the fun part; you can use your rolling pin to hit the dough so that the margarine begins to meld with the dough.
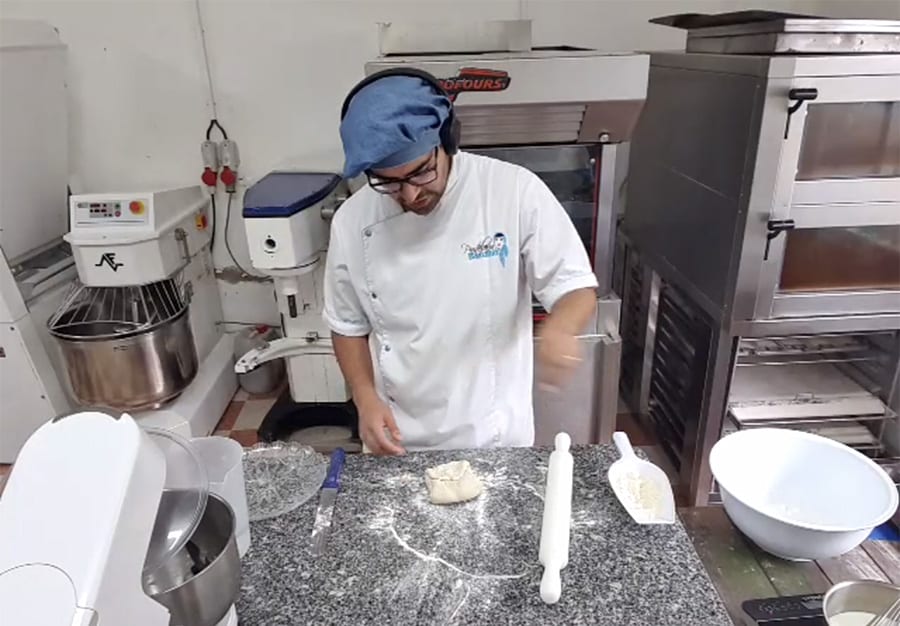
Time to roll again, this time to half a centimetre thick. Fold the top quarter into the centre and the bottom quarter into the centre and turn the dough through 90 degrees and repeat the rolling and folding once more. This will makes the perfect flaky puff pastry.
Roll the pastry out and brush the surface with water and roll the dough to make a long sausage.
If you are using shop-bought pastry roll it out into an oblong and roll as above.
Wrap the pastry in parchment paper or aluminium foil and pop it into the fridge to chill while you make the custard.
*NOTE: Do not do what I did and try to make it with ordinary margarine in a warm kitchen…… the results were not pretty and I ended up with a gooey-mess instead of the beautiful puff pastry that João made.
Making the Custard
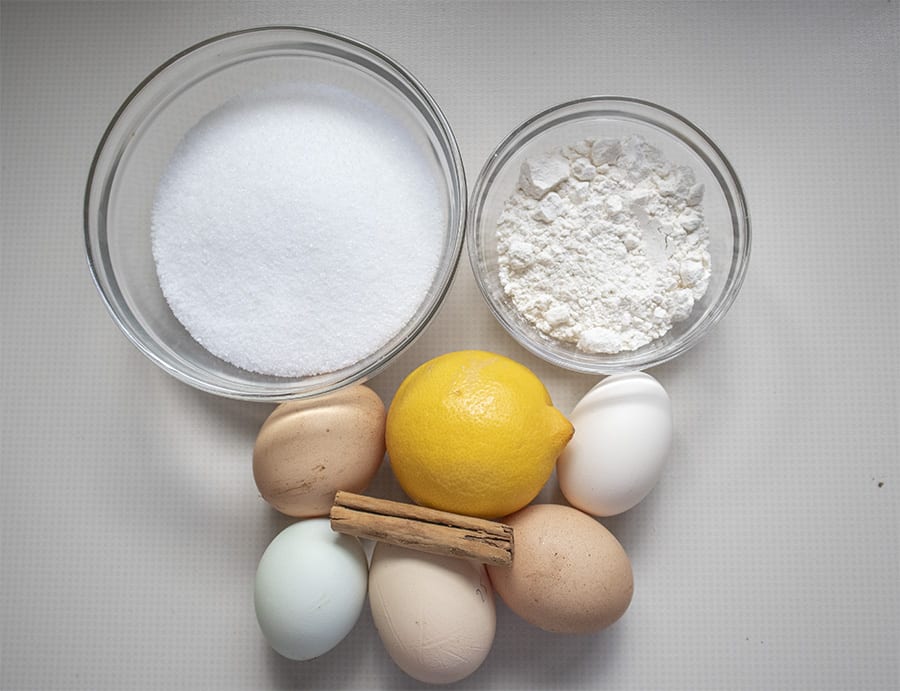
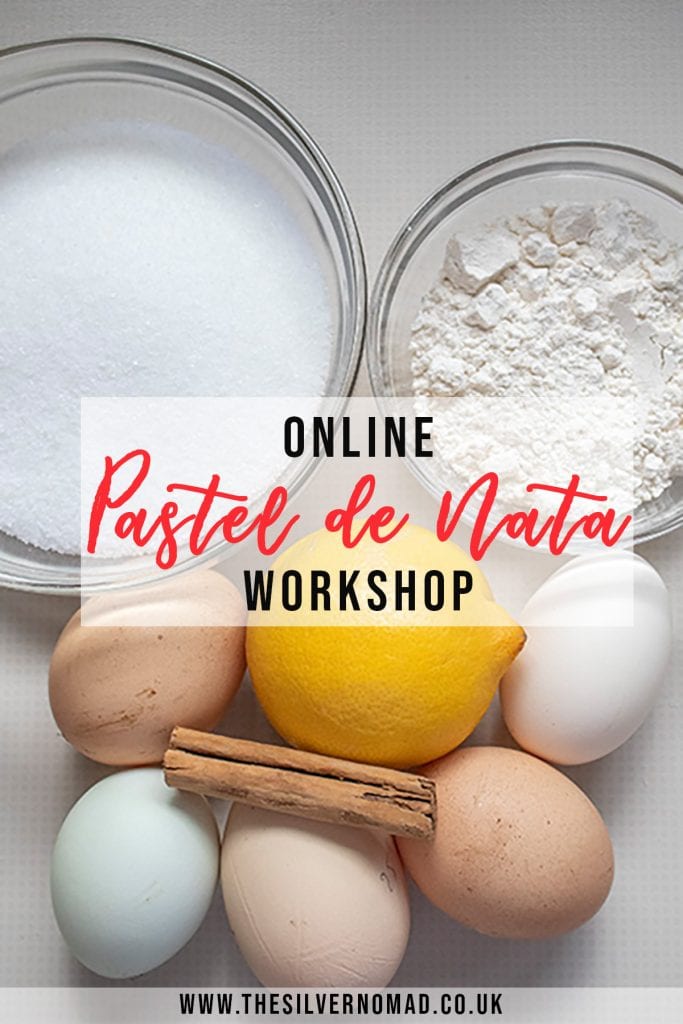
Mix together the sugar and flour to make user there are no lumps.
Put the milk and the lemon rind (no pith) and cinnamon stick into a pan and bring it up to a boil. When the milk starts to boil, turn the heat down low and add the flour and sugar mix, while still stirring to combine the ingredients. Turn the heat to medium heat and let the mixture thicken until you can draw a visible line with your spoon from side to side and leave a trail.
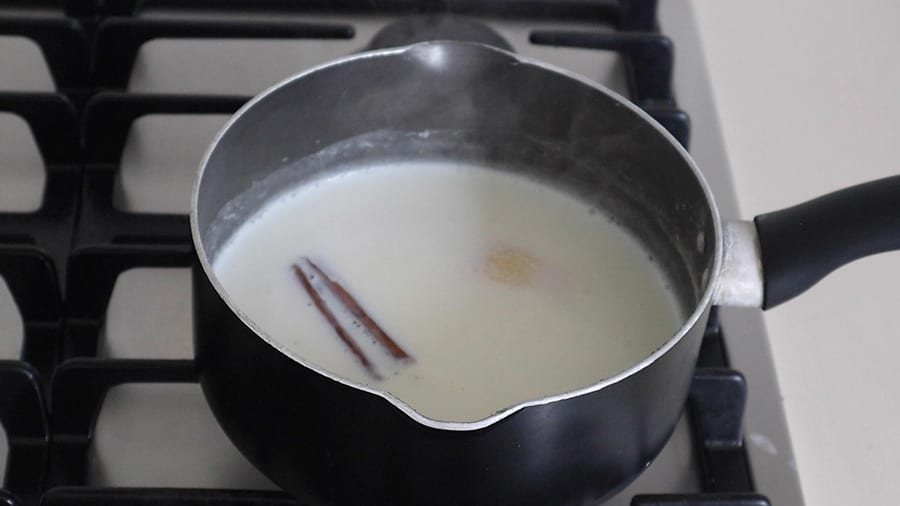
Leave the mixture to cool and when it is room temperature add the egg yolks and stir. The custard will take on a golden yellow colour and thicken up.
Time to put it all together
Start by preheating your oven to 250°C 550°F or as high as your oven can go.
Take the dough out of the fridge and stretch it until the end is the same diameter as your moulds. Slice your dough into rounds about 1.5cm thick and pop one into each mould. Do not use silicone moulds as the pastry will not bake properly. If you want proper Pastel de Nata moulds they pastry shop sells them for €2 each plus postage.
Have a small dish of water next to you to wet your thumb ready for shaping the dough. Starting with your thumb in the centre work around the mould easing the dough up the sides until it over the sides. Put the mould on a baking tray and go on to the next one leaving space between each one.
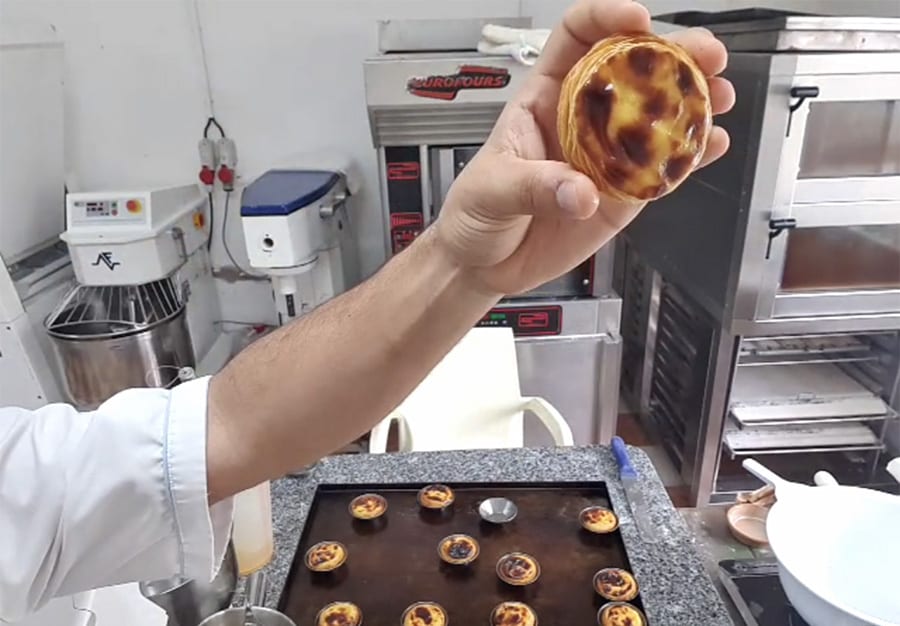
Once all the moulds have been done, fill each one with the custard so that it is below the rim of dough. Carefully place the pastries in the oven. About 5 to 10 minutes through, turn the tray around so that they bake evenly.
After another 6 or so minutes, keep an eye on your pastries. If you take them out and give the tray a wee shake and if the filling is still wobbly, pop them back in. You want a nice golden puff pastry, a solid centre and tops will be browned.
Leave them to cool, dust with some ground cinnamon and enjoy!
Want to know more?
Are you ready to book your own Pastel de Nata Workshop Online? Here is what you need to know:
How to book: Book on the Pastel de Nata Workshop Eventbrite page
Price: €25
Length of time: 90 minutes to 2 hours
Availability: Various days
Try some of my other recipe posts
Have you taken an online cookery class? What did you make? Let me know in the comments below.
Don’t forget to pin this article so you can come back to it later

Sounds like a process, but I bet it is SO worth it to taste those gems at the end! So cool that you can learn how to make these online!
Oh Darla, they are soooo good!!
These look SO. GOOD. What a fun activity!!!
It was great fun making them, and much easier than I thought. And they tasted amazing!
I have always wanted to visit Portugal, but I have a few years yet before I can travel overseas. I love the idea of the virtual workshop—it’s amazing that you can bake such a complex-seeming pastry so quickly! This recipe seems like an excellent way to work out excess energy or aggression. I can’t wait to try it out!
Let me know how you get on Michelle!
An online cooking/baking class is such a brilliant idea, especially given the current travel restrictions! Visiting Portugal and biting into a Pastel de Nata is definitely on my foodie travel bucket list. Unfortunately, it doesn’t look like Americans like me will be allowed to visit Europe any time soon, so this experience would help fill that international culinary travel void I’m experiencing right now. Thanks for sharing this online workshop!
I do hope you get to Europe in the not too distant future, but try making Pastel de Nata in the meantime for a real taste of Portugal.
I had never heard of this treat and it sounds amazing! Definitely gonna try it!
They are amazing little pastries and actually easy to make. Let me know how you get on!